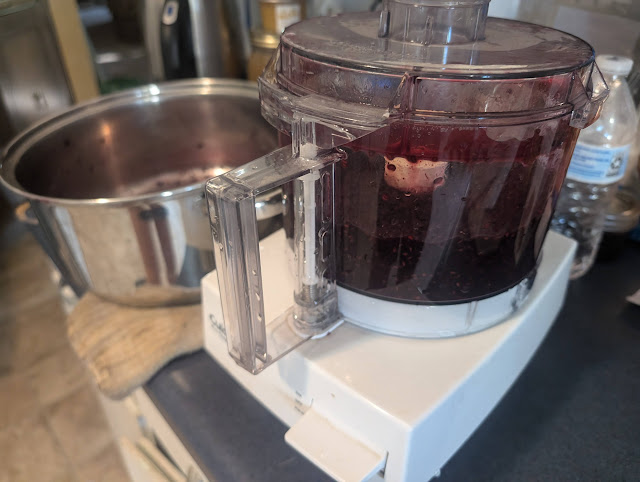
It's elderberry season! Elderberries have become one of my favorite berries, even though they're tiny and not the best to eat on their own. Why do I like them? Well, they make awesome jam and are a superfood that help to support immune systems! I actually take an elderberry gummy frequently and thought, "Why am I doing this? Why don't I just make more jam?" So alas, that's what I'm doing..
There are different kinds of elderberries. The most common around here is blue elderberry (Sambucus caerulea), and they come in a dark blue, almost purple color.
1. The first step is to pick the berries, then rinse and dry them. I find the elderberries easier to get off the stems when they're frozen, so I freeze them and then pick them off, checking frequently for little bits of the stem. (I usually do this while catching up on a Netflix show. It seems especially appropriate while I'm watching Alone.)
3. If you haven't already, prepare your canner, jars, rings, and lids. I like to stick the jars, rings, and lids in the dishwasher and run them on a quick cycle.
4. Then it's into the sauce pan with 2/3 cup apple juice. Stir. Add 3 Tbsp Ball Realfruit Low or No Sugar Needed Pectin. Let it come to a boil. Add up to 1/2 cup sugar or honey. Return to a boil and boil hard for 1 minute.
 |
6. Wipe the rims, center the lids. Apply the bands.


